If you’re really into photography, there’s a pretty good chance you’ve at least thought about selling prints, and if you’ve thought about selling prints, you’ve probably given some though to creating limited editions. It’s also possible you went no further than just thinking about it, because the idea can seem daunting and, unfortunately, it’s hard to find good information about it.
That doesn’t mean you shouldn’t, though.
Let’s go down the rabbit hole of photographic editions and see how they work.
Open vs. Limited Edition
When you decide to sell a print, the first thing you need to decide is whether you’re going to issue the print as an open edition or a limited edition. If you already sell prints, and haven’t explicitly put a limit on how many you’ll create, you’ve decided to issue an open edition of those images, whether you realized it or not. With an open edition, you can make and sell as many prints as you want, and there are really no formalities required. You’re just making and selling a product, as many as the market will bear.
You can issue a formal open edition that has traits more commonly associated with limited editions—such as a signature or a certificate of authenticity—just with no limit on how many you can produce, however the bulk of open editions are informal editions without any of that.
With limited edition prints, on the other hand, you’re making a promise to your buyers that you will create, at most, a specific number of prints of that image. This limit creates the potential for scarcity, which may allow you to charge a higher price for in-demand prints and may cause the price of those print to appreciate over time. There’s no guarantee, of course. Limited editions aren’t magic. There has to be a market for the image that’s greater than the size of the edition for it to have any impact at all.
There are certain customs and formalities that are generally followed when issuing a limited edition. Some of these originate from law, but mostly they are customs that have evolved out of earlier reproduction techniques like woodcuts and vinyl cuts. Each print in a limited edition is typically signed by the artist and numbered. It’s also common to take steps to ensure that prospective buyers have a way to authenticate the print, such as by issuing a certificate of authenticity with contact information backed by good records about the production of the edition and about the sales of edition prints.
Choosing an Edition Type
It’s common for photographers without a lot of name recognition to assume there’s no value in issuing a limited edition because they may never exhaust (or, in other words, sell out) even a small edition¹. That’s an understandable way of looking at it, but here’s another way: A limited edition can end up being a huge gift to your early supporters. You may not ever become well known, but you might, and if you work at it, you will definitely be more known in the future than you are today.
It’s completely possible that your early limited edition prints could end up appreciating in value, and that’s a nice “thank you” to the people who supported you early on. Also, remember, once you’ve sold copies of a print outside of a limited edition, you generally won’t be able to create a limited edition of that image², so you may also want to identify the images you’ll want to issue as a limited edition, even if you’re not ready to actually issue it yet. Knowing which ones you might want to use can help you avoid accidentally losing the ability to publish a limited edition of that image later.
On the other hand, you don’t want to issue every print as a limited edition unless you’re famous or there’s a large demand for your work for some other reason. Limited editions are more work for you and only have the potential to increase a print’s value if there’s substantial demand.
For most photographers, you should only do limited editions for those images that you really like, are really proud of, or think are particularly sellable. Otherwise, you’re creating extra work for yourself without getting any real benefit from it.
Determine an Edition Size
When you do decide to issue a limited edition, the very next decision you need to make is the size of the edition. The larger the edition, the less potential scarcity, so the smaller the potential impact on the price… but the more prints you can sell.
Editions in older reproduction techniques, such as woodcuts, vinyls cuts, and lithographs, were often done in very large sizes—hundreds, thousands, or even tens of thousands of prints—because they were essentially the mass production techniques of the day. Early photographic editions were typically smaller than that, but still usually involved at least a few dozen or a few hundred prints. The more recent trend in photography has been toward much smaller editions, with 10 and 25 being very common edition sizes these days.
While the edition size is a personal choice you have to make, the general guidance I would give is to try not to create an edition that’s larger than the number of prints you think you can sell during your lifetime. The ideal situation is to publish editions that are smaller than the number of people potentially interested in buying it. If there are fewer potential buyers than inventory (aka the edition size), having a limit creates no actual scarcity, and you won’t get a higher price than you could’ve gotten doing an open edition.
Of course, there’s guesswork involved so you won’t always nail the edition size, which is okay. Over time, you’ll get a better feel for demand.
You can create an edition size of one. These types of “editions” are usually called “one offs” or “uniques” and are labeled 1/1.
Print Sizes
If you’re going to create multiple size prints of the same image, the number of each size should be decided right up front and set in stone before you create any edition prints of any size. If you don’t do that, you’re giving yourself a loophole to expand the size of the edition after you’ve sold prints, and that’s not really fair to your buyers.
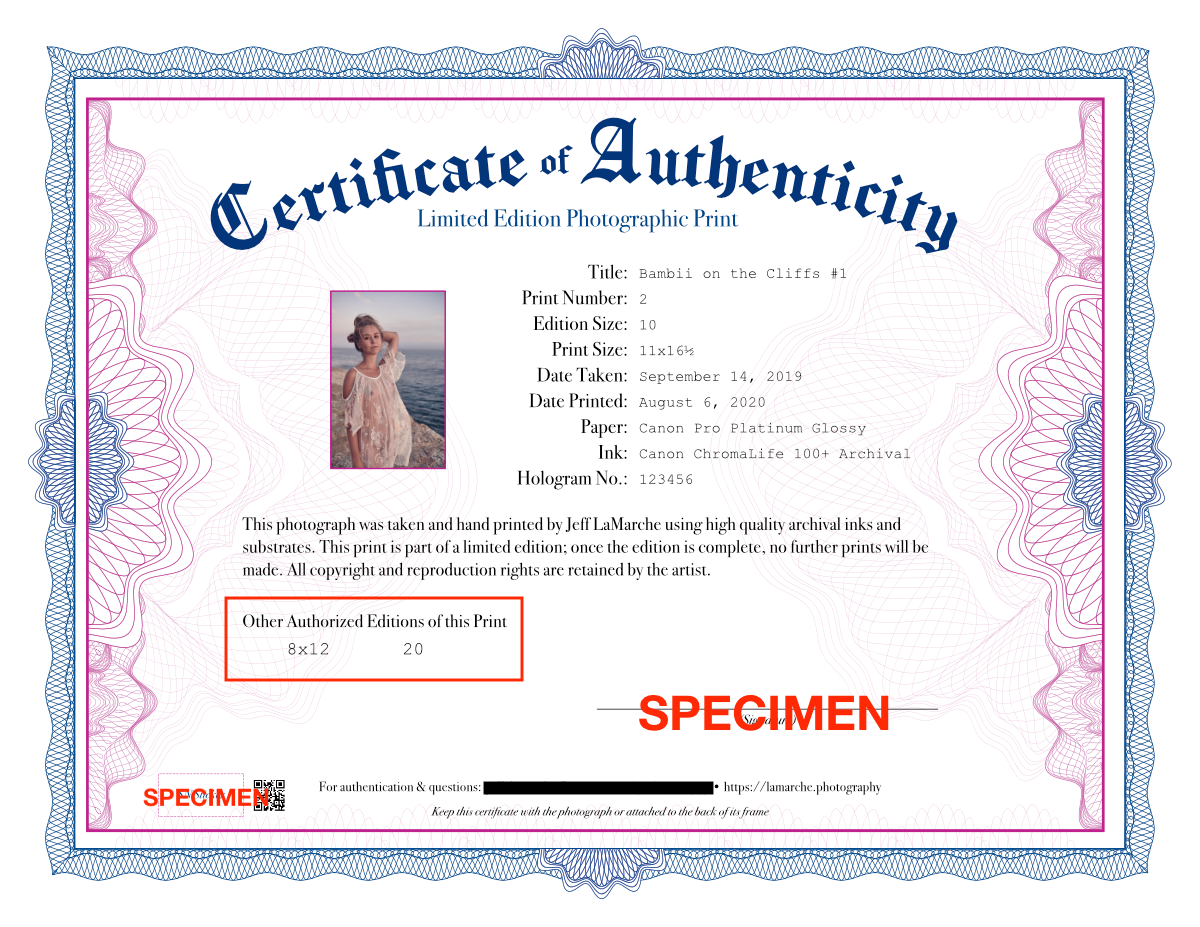
I not only decide all of the size before making any edition prints, I also include all editions of the same print on the certificate of authenticity (which I’ll talk about later), like this:

Edition Prints & Proofs
One of the oddities of limited editions, inherited from older, mechanical reproduction techniques, is that an edition may contain additional prints beyond the numbered member prints. Typically, each print in an edition is numbered (usually, but not necessarily, based on the order they were created), and once the whole edition is done, no more prints may be created. However, there can be other prints called proofs, usually printed as part of the creation process, that do not have to be destroyed.
There are several types of proofs that are allowed to exist without violating the edition limit, however, you generally should not sell proofs of your own prints. The types of proofs that you can create include:
- Artist Proof: Before printing an edition, you typically need to create some number of test (or proof) prints to get your print settings dialed in. The final proof is referred to as the “Artist Proof” (or sometimes “Artist’s Proof”), and is not numbered. Instead of being numbered (e.g. 1/10), the final proof is marked “AP” (or, less frequently, “PA”, “E.A”, or “E. d’A”). Typically, the artist or printer will keep this proof. Artist proofs shouldn’t enter circulation until the artist dies or something unusual happens (such as the artist declaring bankruptcy). When artist proofs do enter circulation, they often sell at a premium over the regular edition prints.
- H’ors de Commerce Proof: Another type of acceptable proof is the h’ors de commerce print. Translated from the French, it means “not for sale”. It was a common practice with many types of print editions, for the artist to mark a small number of prints “HC”, usually to be given as thank you gifts to their publisher, printer, patron, model, or others involved with the production of the images.
- Printer’s Proof: This type of print, usually marked “PP” or less often “BAT” (which stands for “bon à tirer”, which is French for “good to print”) is not usually part of limited editions of photographs, but conceivably could in the case of a very large edition printed by a third party lab or printer. Printer’s proofs are used like artist proofs when there are multiple printers or press operators, each needing a signed-off print to compare their output against. Sometimes printer’s proofs are marked the same as artist proofs (“AP”) if they were actually created by the original artist. Printer’s proofs are typically kept by the printer or publisher.
It is perfectly acceptable to keep your artist’s proof and also to create a small number of HC proofs to give as gifts to the people who helped you create your edition. Giving an HC print to your model, assistant, or printer, is fine. On the other hand, you should never sell proofs or use them as a way to extend an edition after exhausting it.
I would also discourage you from creating a large number of proofs when creating small editions. If you issue an edition of 10, you shouldn’t also have 10 HC proofs in circulation. My personal rule of thumb is to limit HC proofs to no more than 20% of the edition size, or 3, whichever is higher. Because I do my own printing, I only ever create one artist proof, which is the last proof I make before starting to produce the edition, and that one stays with me.
Mounting Edition Prints
While prints in a limited edition don’t have to be mounted, it’s pretty standard practice to do so. Usually they’re sold with a simple white mat with archival properties. Above a certain price point, prints are usually mounted in museum-grade rag board. For more information on mounting your prints, you can read this post.
Signature and Edition Marks
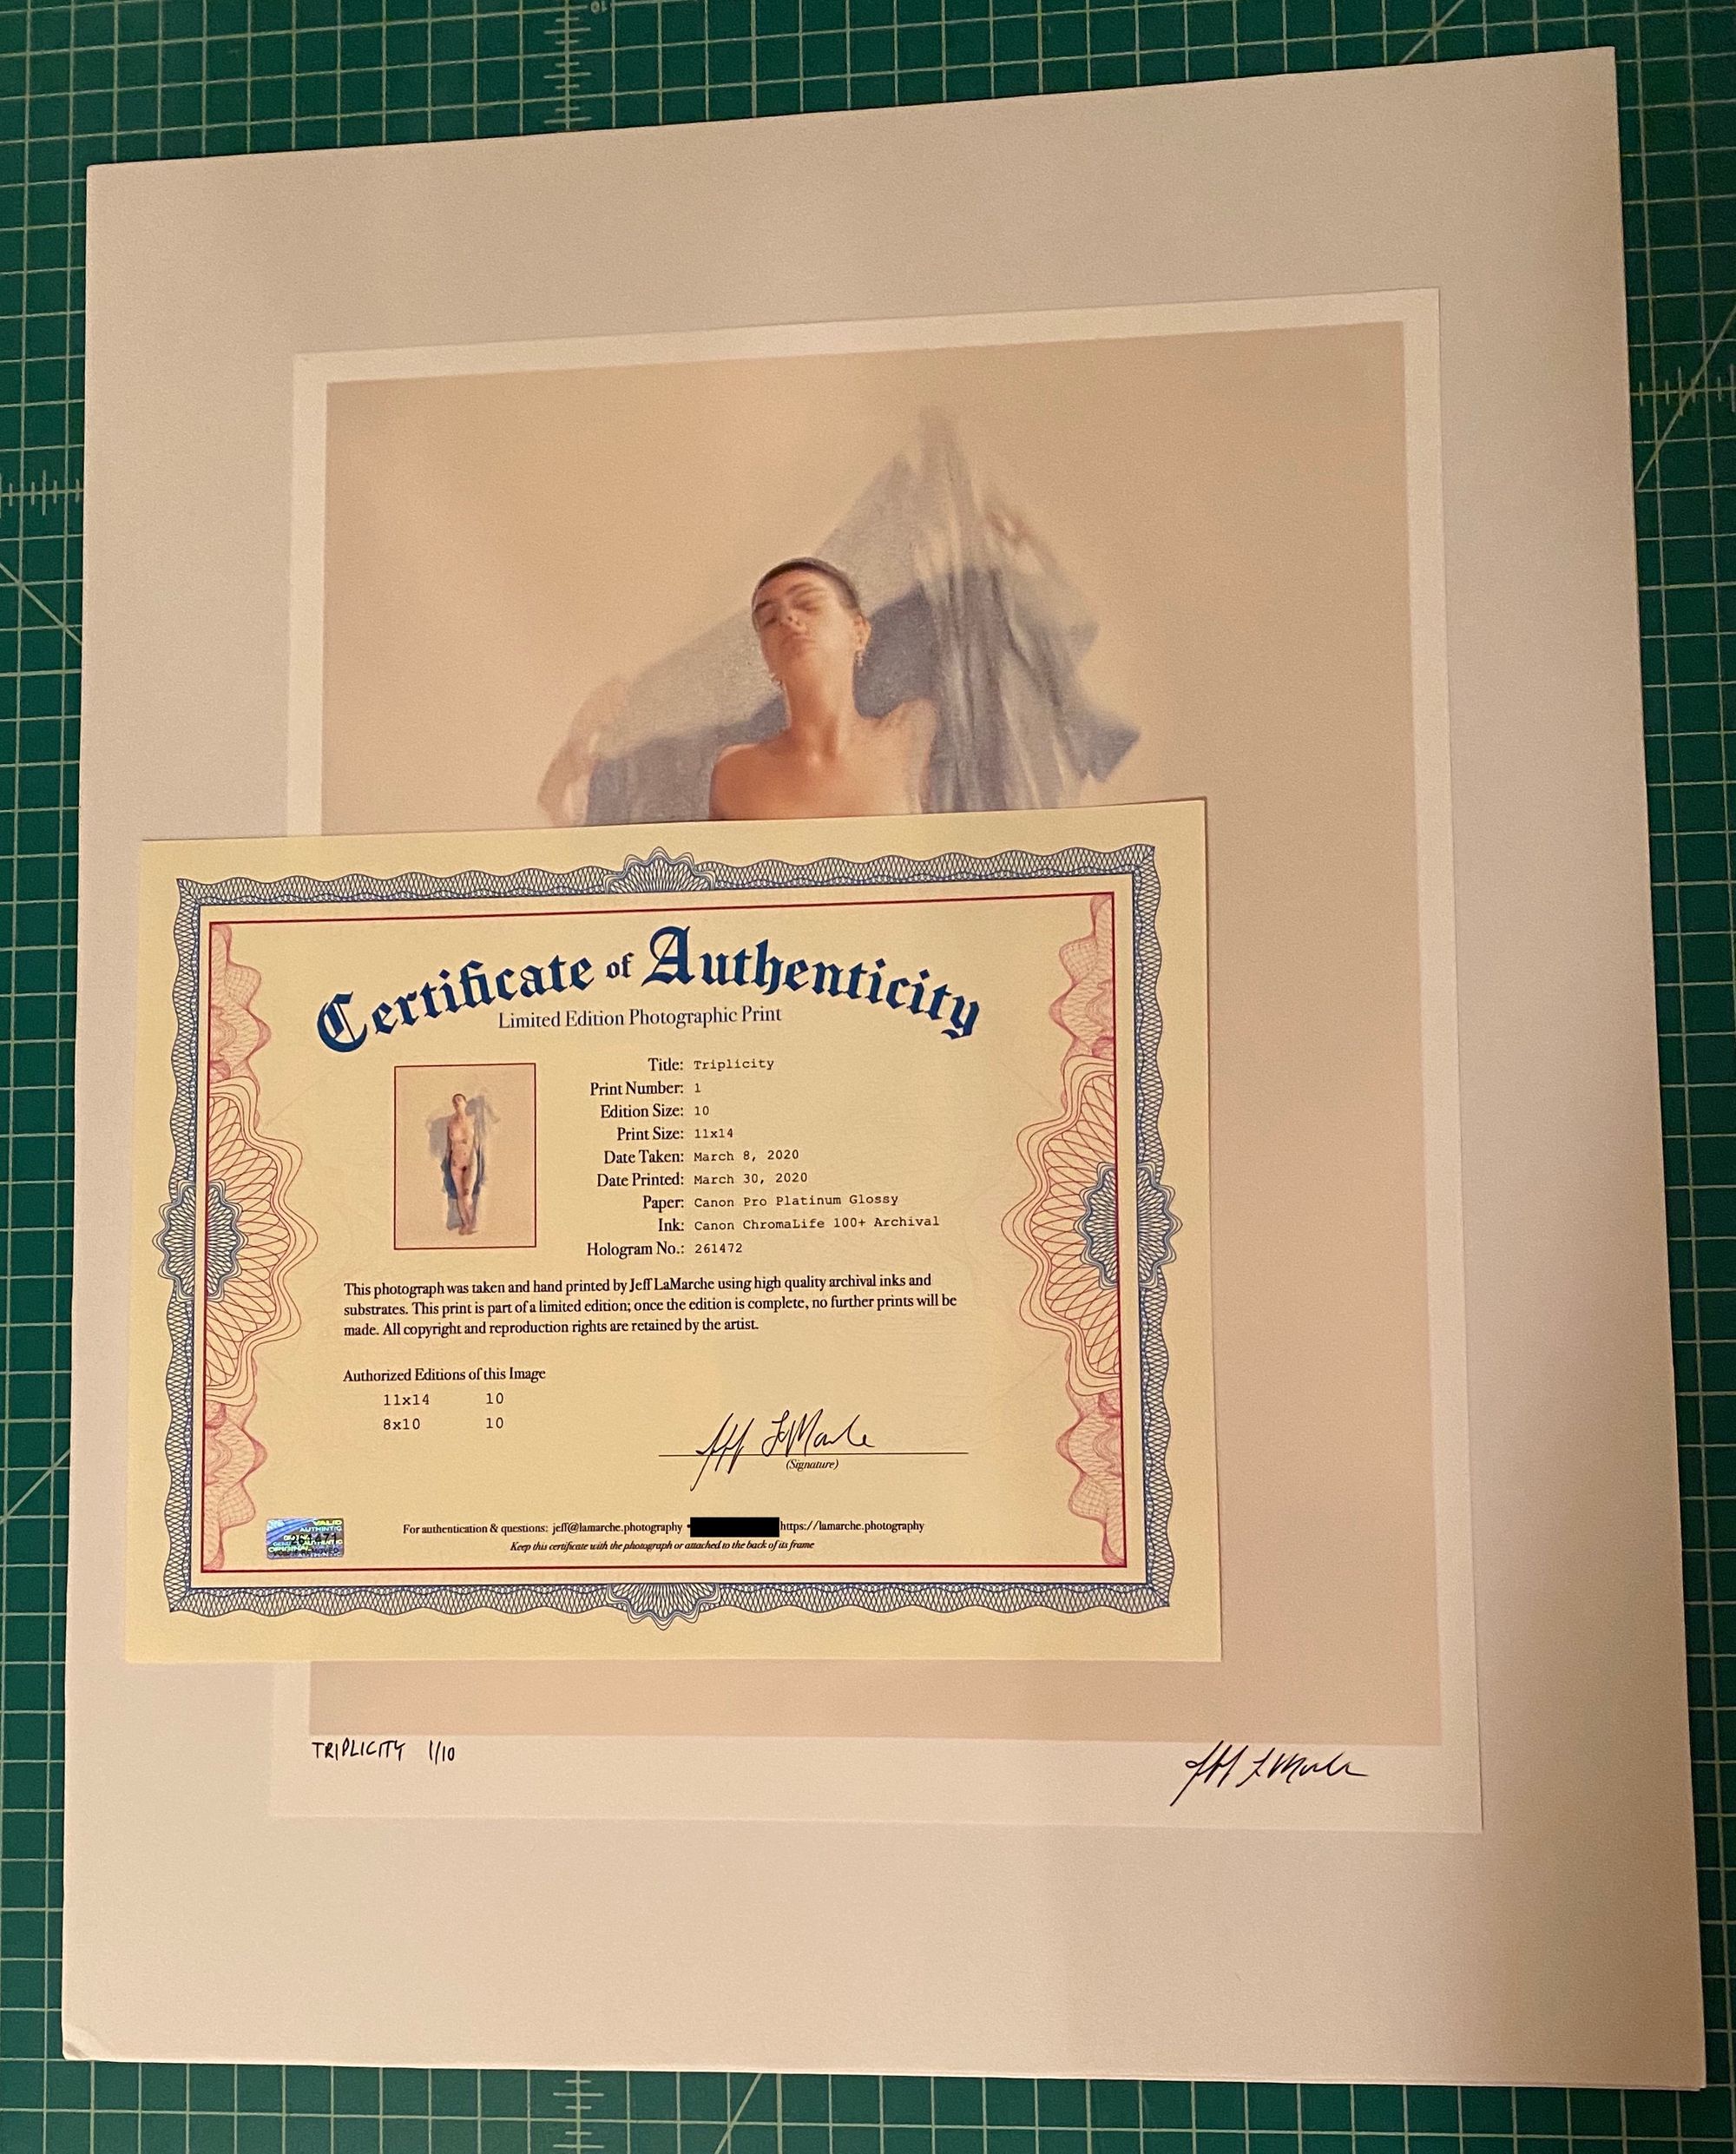
Limited edition prints are almost always signed and contain “edition marks”, which give information about the print, such as the edition size, and which print in the edition this is. The signature and edition marks usually go in one of three places: on the front of the print, usually (but not always) below the image, on the reverse side of the print, or on the mat. Edition marks should be done by hand, by the photographer, and should be written in pencil or an acid-free, archival pen such as a Pigma Micron by Sakura.

Where you put your edition marks is mostly a matter of personal preference. Historically, the back of the print was the most common place for edition marks on photographs. More recently, putting them on the front of the print (which has been common for other types of printing for a long time) is becoming more common with photographs, probably because it allows the signature and print information to be visible when framed.
You should only put edition marks on the mat rather than on the print if you flush mount your prints. Flush mounts are semi-permanent, so marks on the mat will usually stay with the print. The other main type of mount—the hinge mount—is designed to make it easy to take the print out, so edition marks on the mat would generally be a bad choice if you use a hinge mount. For more information on flush and hinge mounting, try this post.
There is no required order or location when it comes to edition marks, but if you plan to put them on the front, it’s common practice to put them in the margin below the print, with the print number and edition size on the left and the signature on the right. You can also put the print’s title in the center if you wish.
These conventions about where to sign and put edition marks are just that – conventions. Although it’s often a good idea to stick with conventions unless you have a reason not to, you can put the edition marks anywhere you want. For my first two limited edition prints, I put the title on the left next to the edition number. I didn’t learn that the center was the customary location until later.

Certificates of Authenticity
Nearly all limited edition prints come with a certificate of authenticity signed by the artist. A lot of artists have a negative reaction at first to the idea of a issuing a certificate of authenticity. This may come from the fact that a lot of cheap, mass-produced products use certificates of authenticity as a marketing gimmick, but they really are a good idea for any kind of hand-created art, including limited edition photographs. Having a signed document that accompanies the print and includes your contact information means that anyone who obtains this print or is trying to authenticate this print, will know how to reach you.
There are really very few specific requirements when it comes to certificates of authenticity. If you do a quick web search, you’ll see there’s a lot of variety in how they look and what information they contain.

The only real requirements is the image name (if there is one), the edition size, the print number, your contact information, and a signature. Some artists include some kind of statement about the edition or the print or a thumbnail of the image to make it easier to match the certificate up to its print, but I’ve seen many certificates that do neither.
Another thing that’s not required, but many photographers do, is take steps to make it harder to counterfeit your image, for example, by including a serial number on a tamper-proof holographic sticker on the print and/or certificate.

I put a holographic sticker both on the certificate of authenticity and the back of the print itself. I also record the number of the sticker from the print on the certificate of authenticity and keep a spreadsheet that lists both numbers for every limited edition print I’ve made.


It has also become somewhat common to include information about the paper, dyes, or process used to create the print. This re-assures the buyer that they are getting an archival-quality print and that information can also be used to further authenticate the print.
A lot of photographers just type up a certificate in a word processor, then print it, and sign it. And really, that’s all you need. You don’t need to make a fancy certificates or go to great lengths to prevent counterfeiting. Unless you’re quite famous, the chances of someone actually counterfeiting your work is very slim. Despite that, there is still marketing value to creating an aesthetically pleasing, harder-to-counterfeit certificate and it’s not really that much extra work.

Record Keeping
Anybody can create a “certificate of authenticity”, so you need to back yours up with good record keeping and a way for people to contact you. There are services that will handle this for you and provide a web page people can use to authenticate your work. I don’t create enough limited edition prints to justify paying for a service like that, so I just keep good digital records (redundantly backed up!) and provide my e-mail address and phone number on the certificate for people to use if they want to authenticate the print. Because I haven’t used any of these third-party services, I’m not comfortable recommending one, though I can definitely see the value for someone who produces a lot of prints.
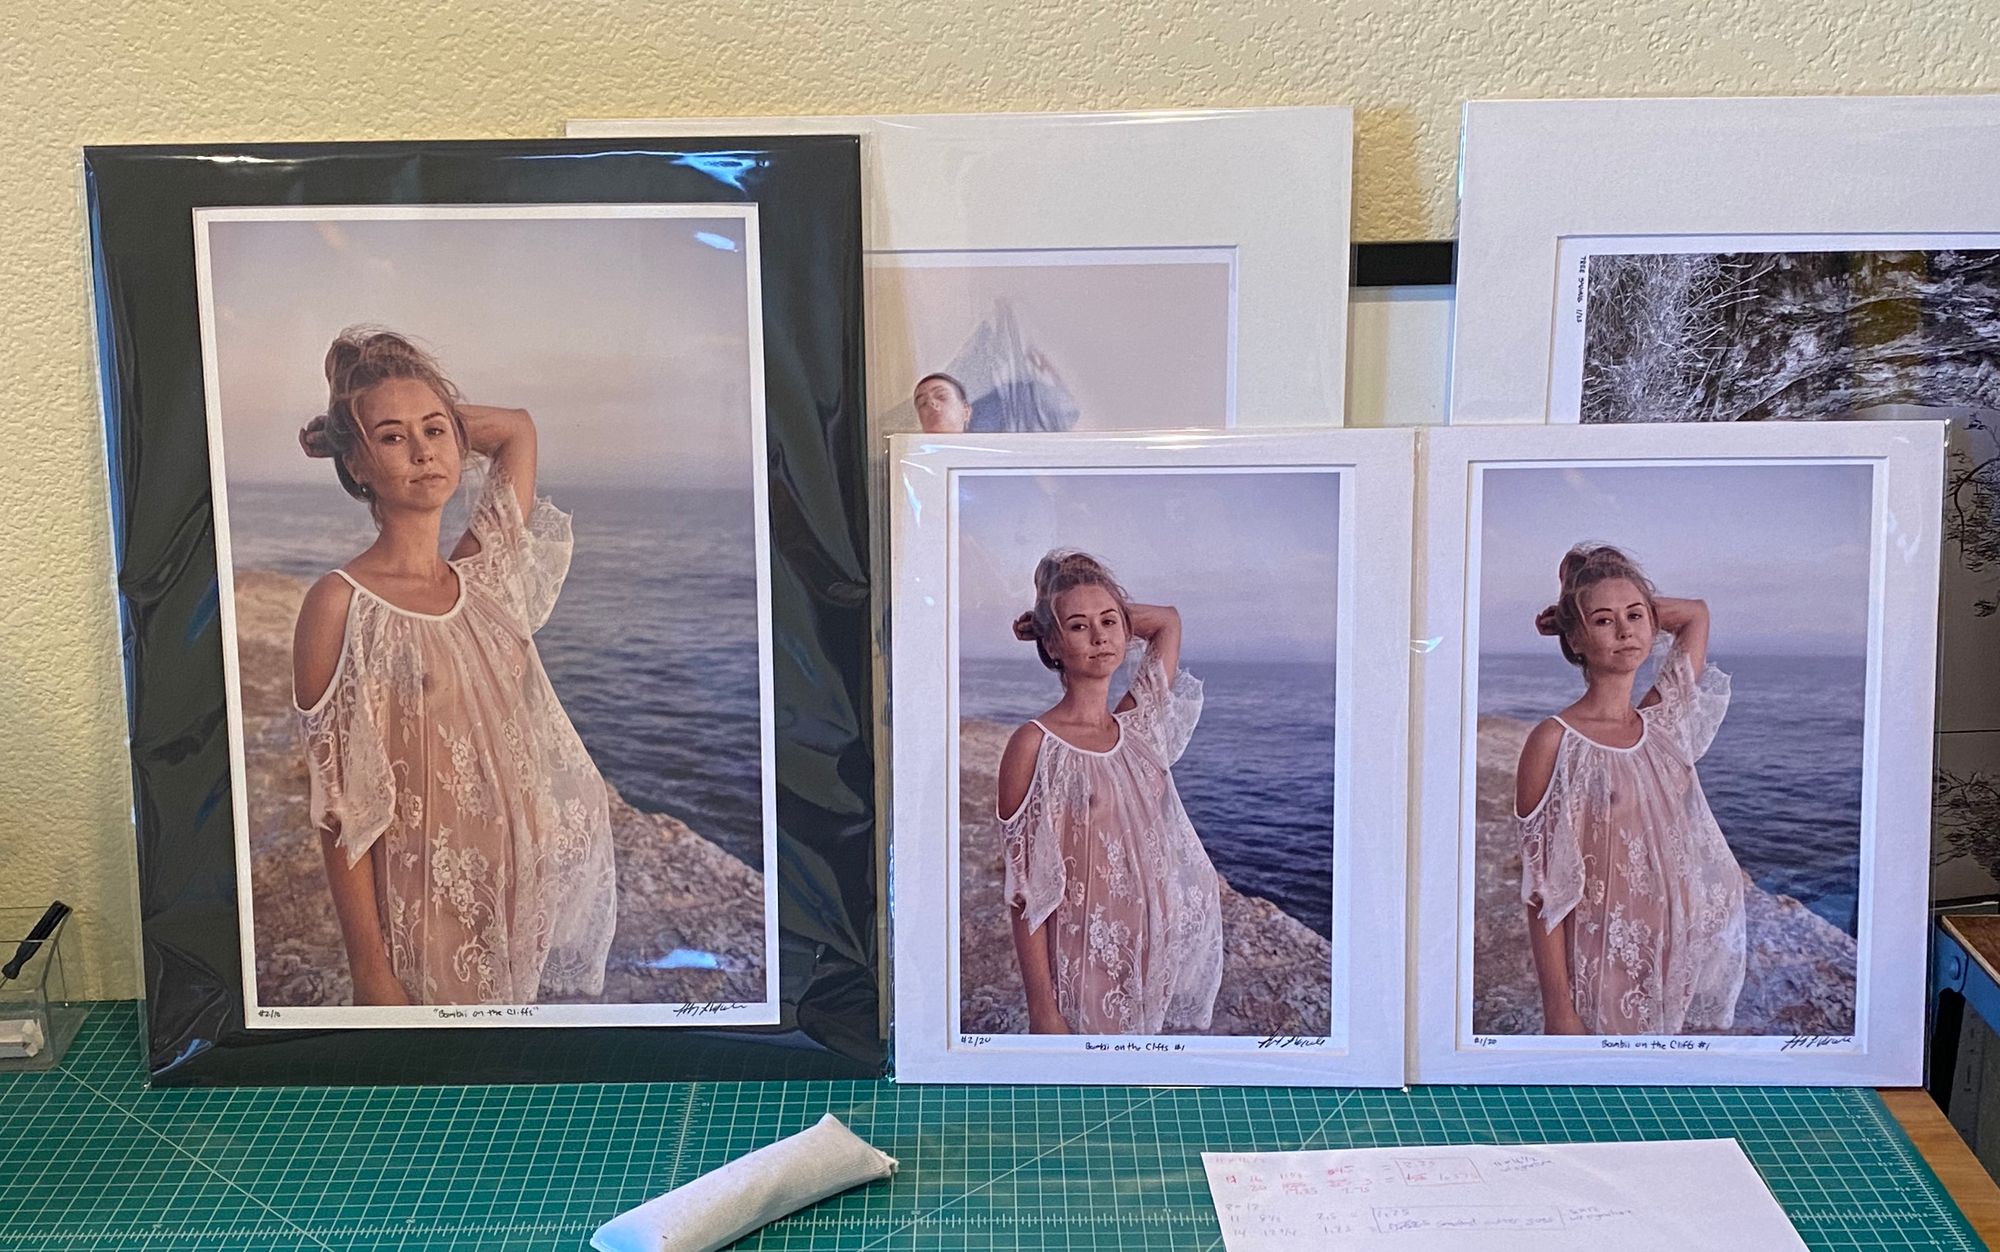
In case you’re wondering, I’m not currently set up to sell my limited edition prints online. You can see my limited edition prints in the image below. If you’re interested in buying one (or prints of any of my other images, for that matter), drop me an e-mail.

- Even some famous historical photographers have limited editions that are not exhausted. Nobody bats 1.000, so that possibility really shouldn’t discourage you from doing a limited edition.
- There definitely are ways you can ethically do a limited edition of an image that was previously issued as part of an open edition. One way would be to track down each of the owners of the open edition prints. If you can account for all of the images and can retroactively make them part of the edition, or swap the open edition prints for a limited edition replacement, then you can ethically move forward with selling that print as a limited edition.